As someone who’s been immersed in the world of interior and exterior design for years, I’ve seen the transformative power of PU faux stone wall panels. These lightweight, cost-effective, and strikingly realistic materials have become a go-to for creating stunning feature walls. But before committing to a project, many of you want to visualize how these panels will look in your space—hence the need for high-quality effect renderings. Whether you’re a homeowner planning a DIY project or a designer crafting a pitch for a client, creating an effect rendering for a PU faux stone wall can make all the difference. In this guide, I’ll walk you through the process step-by-step, sharing practical tips and tools to help you craft renderings that are both inspiring and accurate.
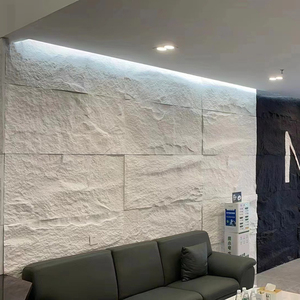
Why Create Effect Renderings for PU Faux Stone Walls?
Effect renderings are digital or hand-drawn visualizations that show how a PU faux stone wall will look in a specific space. They’re essential for several reasons:
Visualization: They help you or your clients see the final look before investing time and money.
Design Planning: Renderings allow you to experiment with colors, textures, and layouts without physical changes.
Client Communication: For professionals, renderings are a powerful tool to convey ideas and secure project approval.
Problem Avoidance: They help identify potential issues, like mismatched textures or lighting problems, early in the process.
With this in mind, let’s explore how to create these renderings using various methods, from free apps to professional software, tailored to different skill levels and needs.
Methods to Create PU Faux Stone Wall Renderings
Here are four practical approaches to creating effect renderings, based on my experience working on residential and commercial projects. Each method suits different skill levels and budgets.
Method 1: Using Free Design Apps (Beginner-Friendly)
If you’re new to design or working on a tight budget, free apps like Canva or Planner 5D are great starting points. These tools are user-friendly and don’t require advanced skills.
Steps:
Photograph Your Space: Take a clear, well-lit photo of the wall where you plan to install the PU panels. Use natural light for accurate colors.
Choose a Design App: Download Canva . Both offer free versions with wall design templates.
Upload and Set Up: Import your photo into the app. Use the app’s tools to outline the wall area for the faux stone design.
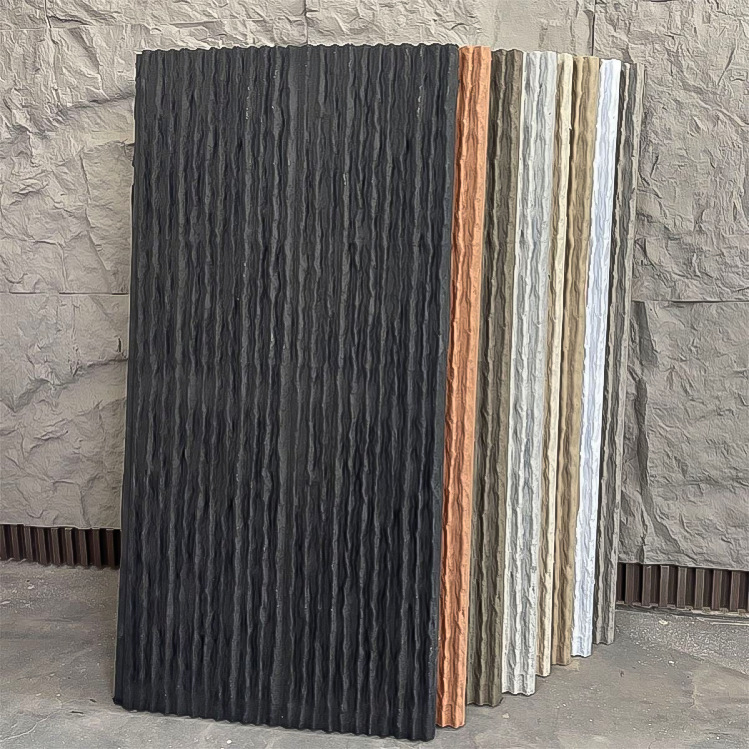
Add PU Stone Textures: Search for “faux stone” or “PU stone” textures in the app’s library or upload images from PU panel manufacturers’ websites. Overlay the texture onto your wall, adjusting opacity and scale to match the space.
Customize Details: Adjust lighting, shadows, or add furniture to make the rendering realistic. Canva’s drag-and-drop interface is great for adding decor elements.
Export and Review: Save the rendering as a high-resolution image (PNG or JPEG) and review it on different devices to ensure clarity.
Tips:
Use high-quality texture images from manufacturer websites for realism.
Experiment with different panel colors and textures to compare options.
Best For: Homeowners or DIY enthusiasts with minimal design experience.
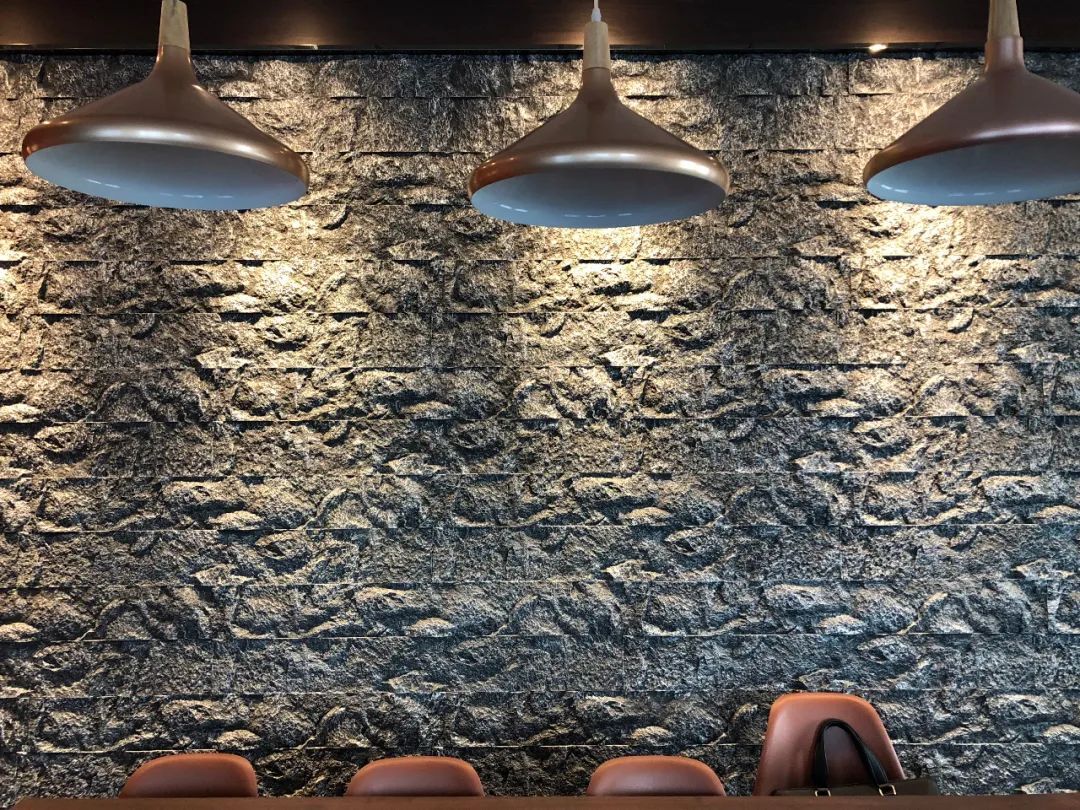
Method 2: Using 3D Design Software (Intermediate)
For more detailed and professional renderings, 3D design software like SketchUp or Blender offers greater control and realism.
Steps:
Measure Your Space: Accurately measure the wall dimensions (height, width, depth) and note any architectural features like windows or niches.
Set Up the Model: In SketchUp , create a 3D model of your room or wall. Use pre-built room templates to save time.
Import PU Stone Textures: Download high-resolution PU stone textures from manufacturer websites or texture libraries like textures.com. Apply these to your wall model, adjusting scale and alignment.
Adjust Lighting and Shadows: Simulate natural or artificial lighting to match your space’s conditions. For outdoor walls, include sunlight direction for accuracy.
Add Contextual Elements: Incorporate furniture, plants, or decor to enhance realism. For example, add a sofa for a living room wall or outdoor seating for an exterior design.
Render and Export: Use the software’s rendering engine to generate a high-quality image. Export as a PNG or JPEG for sharing.
Tips:
Watch free tutorials on YouTube for SketchUp or Blender basics to get started quickly.
Use realistic lighting settings to avoid overly artificial results.
Best For: Designers or homeowners with some design experience looking for professional-grade visuals.
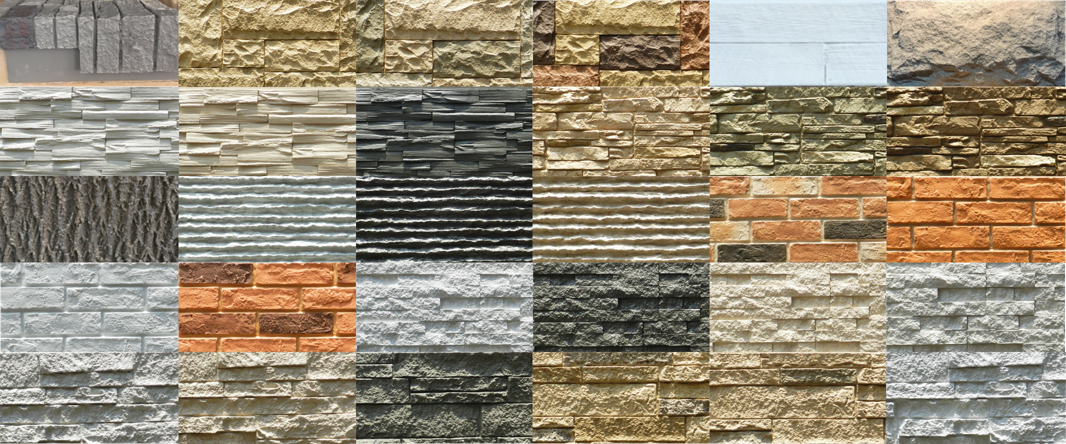
Method 3: Hand-Drawn Renderings with Digital Enhancement
For a unique, artistic touch, hand-drawn sketches enhanced with digital tools can create compelling renderings, especially for client presentations.
Steps:
Sketch the Wall: Use graph paper to draw a scaled outline of your wall, including doors, windows, or fixtures. Sketch the PU stone pattern, referencing real panel designs.
Add Texture Details: Use colored pencils or markers to mimic the stone texture and color. Focus on realistic shading to show depth.
Digitize the Sketch: Scan or photograph your drawing and upload it to a tool like Photoshop .
Enhance Digitally: Adjust colors, add lighting effects, or overlay real PU stone textures to refine the sketch. Blend the hand-drawn and digital elements for a polished look.
Add Context: Insert furniture or decor using the software’s library or imported images to complete the scene.
Export: Save as a high-resolution image for sharing or printing.
Tips:
Practice sketching stone textures by studying PU panel samples or photos.
Keep the sketch simple to avoid overwhelming digital enhancements.
Best For: Designers who want a personalized, artistic rendering or clients who appreciate a handcrafted aesthetic.
Method 4: Hiring a Professional Designer
If you lack time or expertise, hiring a professional designer or using a rendering service can yield top-tier results tailored to your needs.
Steps:
Gather Requirements: Provide the designer with photos, wall dimensions, and samples or images of your chosen PU stone panels.
Specify Preferences: Share details like the room’s purpose (e.g., living room, outdoor patio), lighting conditions, and desired style (modern, rustic, etc.).
Review Drafts: Most designers provide initial drafts. Request adjustments to texture, color, or layout as needed.
Receive Final Rendering: Get a high-resolution digital rendering, often in multiple angles or lighting scenarios, for decision-making or client approval.
Tips:
Look for designers with experience in architectural visualization on platforms like Upwork or Fiverr.
Provide clear references (e.g., PU panel texture images) to ensure accuracy.
Best For: Large projects, commercial spaces, or when you need photorealistic results without learning software.
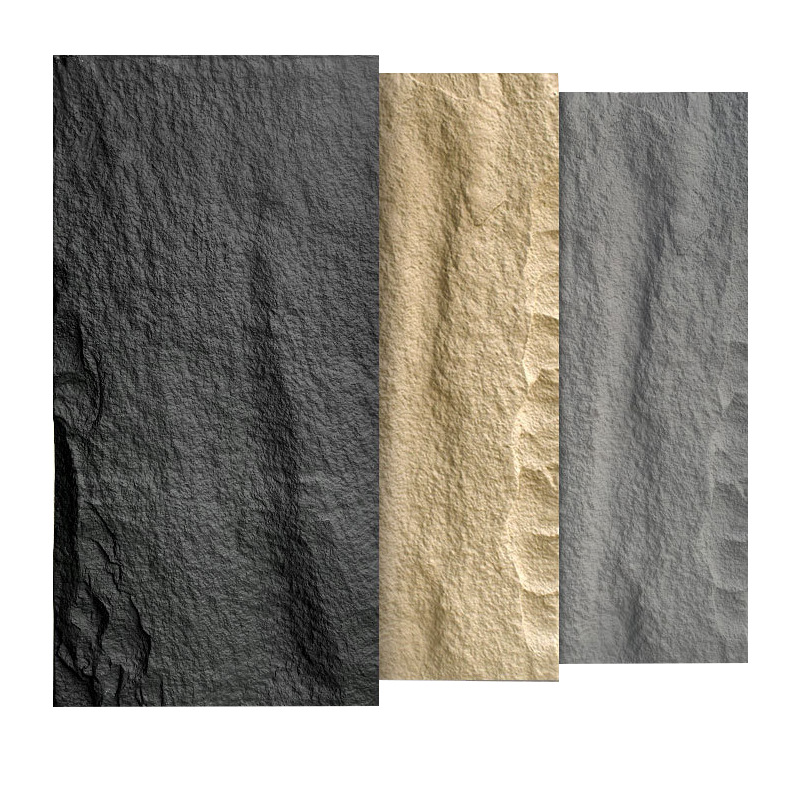
Comparison of Rendering Methods
To help you choose the right approach, here’s a table summarizing the methods, their pros, cons, and ideal use cases:
| Method | Advantages | Disadvantages | Best Use Case |
|---|---|---|---|
| Free Design Apps | Easy to use, free or low-cost | Limited realism, basic features | DIY homeowners, small projects |
| 3D Design Software | High realism, customizable | Steep learning curve, time-intensive | Designers, detailed projects |
| Hand-Drawn with Digital | Unique, artistic, creative | Requires drawing skills, time-consuming | Artistic presentations, small-scale |
| Professional Designer | Photorealistic, professional results | Higher cost, reliance on others | Commercial or high-budget projects |
Tips for Realistic and Effective Renderings
Based on my experience, here are some key tips to ensure your renderings look professional and true-to-life:
Use High-Quality Textures: Source PU stone textures directly from manufacturers’ websites or high-resolution texture libraries to ensure realism.
Match Lighting Conditions: Replicate your space’s lighting (e.g., warm indoor lights or natural sunlight) to avoid unrealistic results.
Consider Scale and Proportion: Ensure the stone pattern’s scale matches the wall size. Oversized or undersized textures can look unnatural.
Incorporate Context: Add furniture, decor, or plants to help visualize how the wall integrates with the space.
Test Multiple Options: Create renderings with different PU stone colors or textures to compare and choose the best fit.
A Real-Life Example
A couple of years ago, I worked with a client redesigning their living room and wanting a PU faux stone accent wall behind their TV. They were torn between a rustic gray stone and a sleek white brick texture but couldn’t visualize the outcome. Using SketchUp, I created two renderings:
Gray Stone Version: I applied a textured gray PU stone pattern, added warm LED lighting to mimic their room’s ambiance, and included their existing sofa and coffee table for context.
White Brick Version: I used a smoother white brick texture, adjusted for cooler lighting, and added modern decor to match their minimalist vibe.
The renderings took about a day to complete, and I presented them in high-resolution images. The client loved seeing both options in their space and ultimately chose the white brick for its clean, modern look. The rendering process not only helped them decide but also ensured the installation matched their vision perfectly. This experience showed me how crucial renderings are for confident decision-making.
Common Mistakes to Avoid
When creating PU faux stone wall renderings, watch out for these pitfalls:
Using Low-Quality Images: Low-resolution textures or blurry room photos can make renderings look unprofessional.
Ignoring Lighting: Incorrect lighting can misrepresent how the panels will look in real life.
Overcomplicating Designs: Adding too many elements (e.g., excessive decor) can distract from the wall’s impact.
Skipping Measurements: Inaccurate wall dimensions can lead to unrealistic renderings, causing issues during installation.
Final Thoughts
Creating effect renderings for PU faux stone wall panels is a game-changer, whether you’re planning a home renovation or pitching a design to a client. By using free apps, 3D software, hand-drawn sketches, or professional services, you can visualize your project with clarity and confidence. My years in the industry have taught me that a well-crafted rendering not only saves time and money but also sparks excitement for the final result. Pick the method that suits your skills and budget, and don’t hesitate to experiment with textures and lighting to find the perfect look.
If you’re stuck or want more tailored advice, I’m here to help! Check out the Q&A below for answers to common questions.
Related Q&A
1. Do I need design experience to create PU stone wall renderings?
No, free apps like Canva or Planner 5D are beginner-friendly and require no prior experience. For more advanced tools like SketchUp, basic tutorials can get you started.
2. Where can I find PU stone textures for renderings?
Check manufacturer websites for high-resolution images or use texture libraries like textures.com. Some apps also have built-in stone textures.
3. How long does it take to create a rendering?
Free apps can take 1-2 hours for simple renderings. 3D software may take 4-8 hours, depending on complexity and skill level. Professional services vary but often deliver in 1-3 days.
4. Can I create renderings for outdoor PU stone walls?
Yes, just ensure you account for outdoor lighting (e.g., sunlight direction) and weather effects in your rendering to reflect real-world conditions.
5. How do I make sure my rendering matches the real PU panels?
Use accurate textures from the manufacturer, match the wall dimensions, and replicate your space’s lighting. If possible, order a sample panel to compare with your rendering.


